**This post was migrated from my old jekyll blog
I am finally writing my first blog post on my new blogging website. All the posts before this are imported from my github. My goal for this dev blog is to archive everything going on in my life as a CS enthusiast from studying, side-projects, or journaling. I will try to write most of my posts in English, but since I feel more comfortable thinking in Korean some of my journaling posts might be in Korean. I hope through this blog I can be more organized on my journey to the CS.
Here are the steps I went through building this website.
Where to host?
First, I needed a server to host my website. There are many web hosting services providing a server with various specs at different prices. However, I wanted my website to be as cheap as possible, so my choice was Github Pages.

Github Pages is a free web page hosting service provided by Github. It can host static web pages with a 'github.io' domain. And, it is built automatically when you push your source to the Github repository. This was the best fit for me because maintenance is easier using git, it does not require a lot of extra setups to build and deploy my website, and it costs nothing to host my website.
What tools to use?

Jekyll is a static website generator written in ruby. It is one of the widely used for creating a blog on github pages. Jekyll renders Markdowns, HTML & CSS, and Liquids into a website. This allows me to easily write a new post using github's markdown editor without in need of building admin page. I can write a new post on any computer, and possibly on my phone.
Template?
Jekyll has many free fully-customizable templates provided by the open-source community. I could build from scratch, but it building from the existing template greatly saved my time.
You can find free templates here:
https://jekyllthemes.io/free
http://jekyllthemes.org/
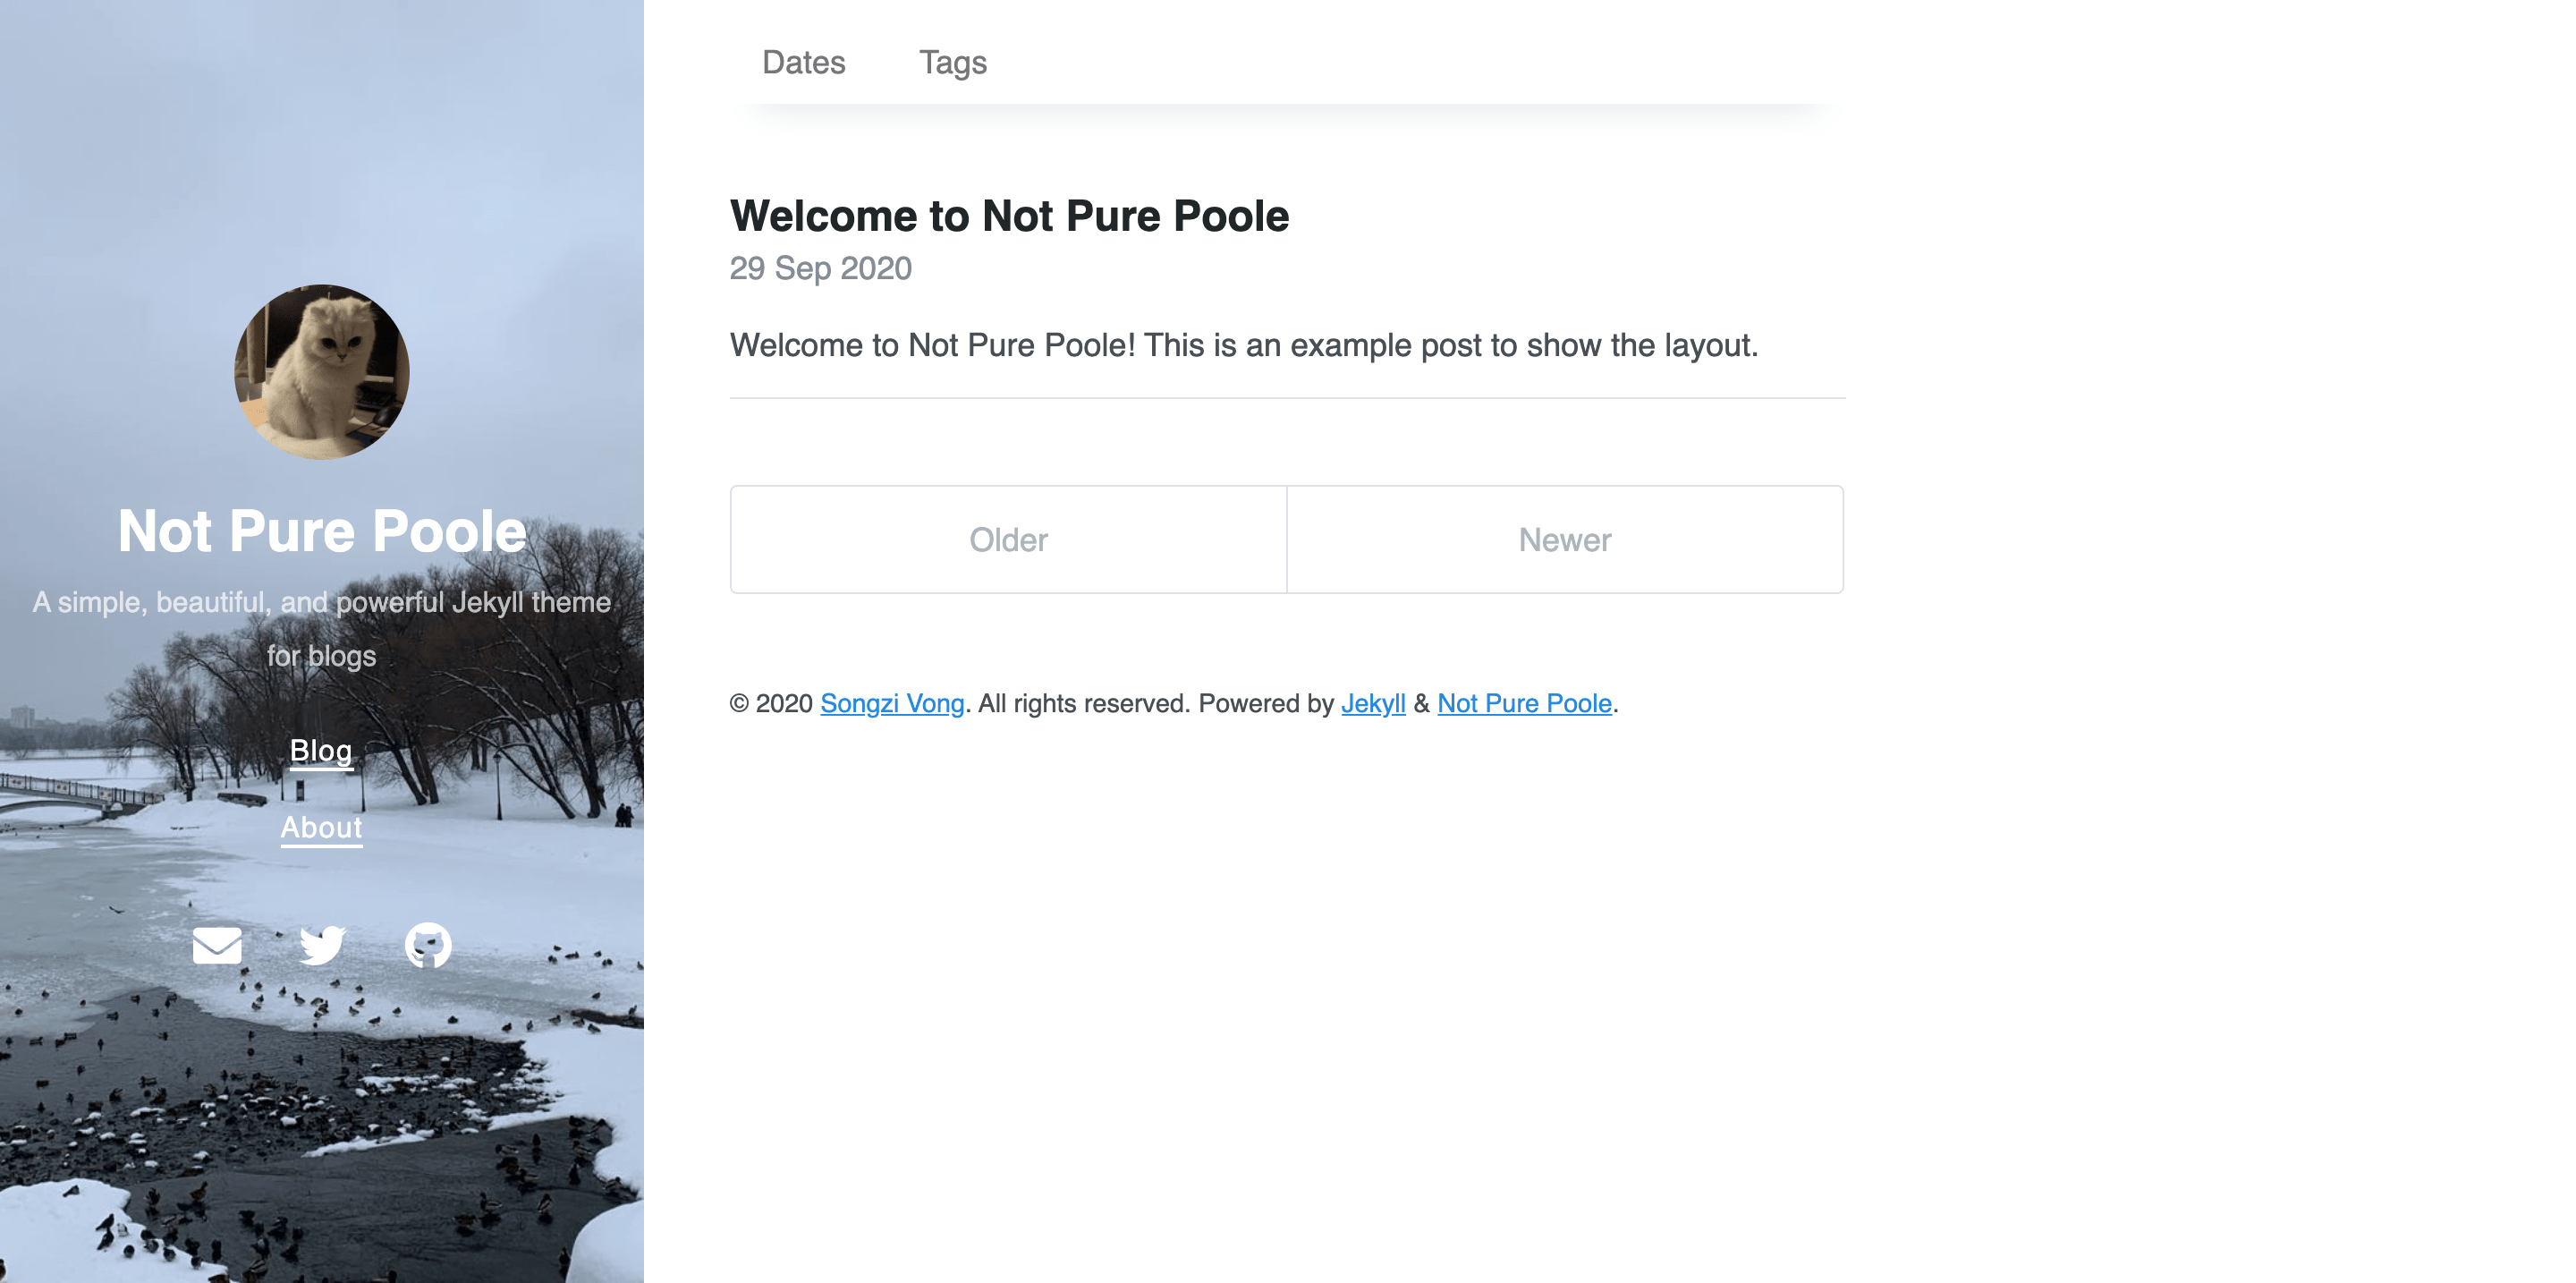
I wanted a very simple blog-friendly template that I can work as both portfolio and a blog. So I chose Not-Pure-Pole. Using this template as a base, I designed a website that has a one-page resume, a list of projects, and a blog.
Getting Started
1. Install Ruby:
On mac, ruby can be installed using Homebrew.
brew install ruby
2. Install Jekyll and bundler:
gem install bundler jekyll
3. Download template:
Either fork the template repository or download them as a zip and extract them in your desired local directory.
4. Run locally:
Jekyll website is run locally using this command.
bundle exec jekyll serve
5. Push to the remote repository on github to publish:
When a new commit is pushed, github will automatically build and deploy.
Writing a new post
All posts are stored in \posts directory as a markdown. The name of the file should follow this format: `YYYY-MM-DD-TITLE.md'.
For my blog, all files have the following header:
---
layout: post
title: TITLE
tags: TAGS
date: YYYY-MM-DD HH:mm +TIMEZONE
---